

The Comprehensive Guide to Converting Manual Cold Storage Doors to Electric Power
For decades, the heavy, manual sliding door was the industry standard for cold storage. It was simple, durable, and required zero electricity. However, as energy costs rise and labor safety standards tighten, the manual door has become a weak link.
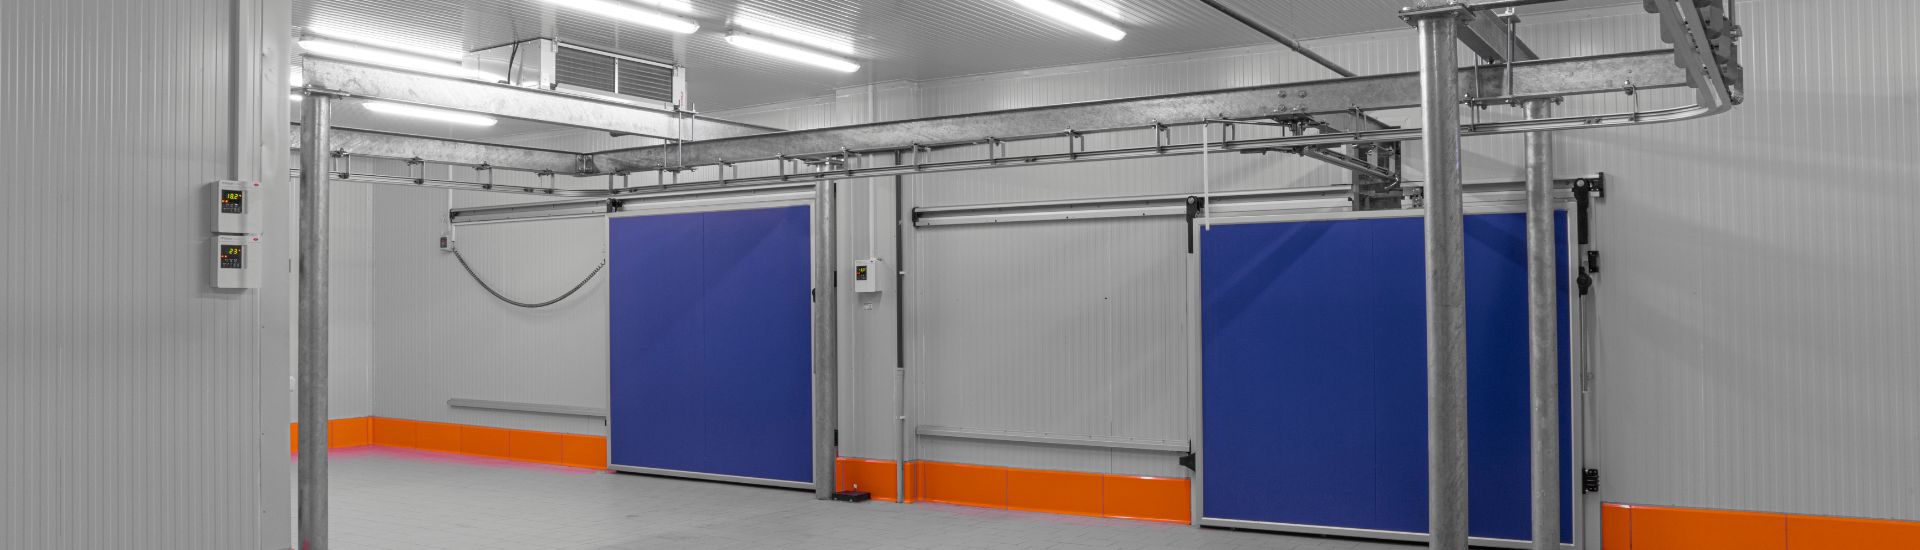
Converting an existing manual door to an electric system is not merely a "convenience upgrade." It is a sophisticated retrofitting process that integrates mechanical engineering, electrical control, and thermal science. This guide will walk you through the entire journey of this transformation.
I. The Strategic Imperative: Why Automate?
Before committing to the hardware, one must understand the ROI (Return on Investment). The shift to automation addresses three critical areas:
1. Thermal Dynamics and Energy Preservation
A manual door is often operated with human inconsistency. It might be left open too long during a pallet transfer, or worse, not closed fully, leaving a "thermal gap."
-
The Physics: Cold air is denser and escapes from the bottom, while warm, moist air enters from the top.
-
The Solution: Electric doors use high-speed motors and auto-close timers to ensure the door is open for the absolute minimum duration, reducing the load on your compressors by up to 15-20%.
2. Operational Velocity and Throughput
In a high-traffic warehouse, a forklift driver must stop, dismount, open the door, remount, drive through, dismount again, and close the door. This adds minutes to every cycle.
-
Automation impact: With radar or pull-cord triggers, the forklift never stops moving. This "Drive-Through" capability can increase logistics efficiency by over 40%.
3. Reducing Mechanical Fatigue
Manual doors are often subjected to "impact operation"—staff kicking them shut or yanking handles. This puts uneven stress on the tracks and rollers. Electric drive systems apply a linear, constant force, which paradoxically extends the life of the door's original hardware.
II. Phase 1: Pre-Conversion Audit and Mechanical Prep
You cannot automate a broken door. The first step is ensuring the manual "bones" are perfect.
1. The Friction Analysis
Check the door’s sliding resistance. A standard manual door should move with a pull force of less than 15kg. If it requires more, you must:
-
Replace Rollers: Upgrade to heavy-duty nylon or stainless steel rollers with sealed bearings.
-
Level the Track: Use a laser level to ensure the track hasn't sagged. A motor fighting gravity will overheat.
2. Gasket Integrity
Electric motors provide high torque. If your gaskets are brittle or frozen to the frame, the motor might tear them off. Ensure the "Drop-and-Push" mechanism (which seals the door against the frame when closed) is functioning smoothly.
III. Phase 2: Hardware Selection – The "Muscle" and the "Brain"
A conversion kit typically consists of four pillars:
1. The Drive Unit (The Muscle)
For cold storage, you need a Gearmotor with specific ratings:
-
Power: Usually 0.75kW to 1.5kW depending on door weight.
-
Low-Temp Lubrication: The gearbox must use synthetic oil that doesn't solidify at -25°C.
-
IP Rating: At least IP55 to handle the condensation and wash-down procedures.
2. The Transmission System
-
Chain Drive (#40/50 Steel Chain): Best for extremely heavy doors or very cold freezers where belts might become brittle.
-
Synchronous Belt Drive: Quieter, requires less lubrication, and ideal for high-speed "Clean Room" cold storage.
3. The Frequency Inverter (VFD)
The VFD is crucial. It manages the Speed Profile:
-
Soft Start: Gradually ramps up speed to prevent chain snap.
-
High-Speed Mid-run: Rapid movement to save energy.
-
Soft Stop: Slows down before the door hits the limit, ensuring a tight but gentle seal.
IV. Phase 3: The Installation Roadmap (The "How-To")
Step 1: Mounting the Operator Rail
The electric operator is usually mounted above the existing door track.
-
Anchoring: Use M10 or M12 through-bolts. Do not trust the insulation panel to hold the weight; use backer plates on the interior and exterior of the cold room wall to sandwich the panel.
Step 2: Connecting the Drive Link
Attach the drive bracket to the door's leading edge.
-
Alignment: The chain or belt must be perfectly parallel to the track. Any angular pull will cause the rollers to bind and trigger a "false obstruction" stop in the controller.
Step 3: Setting the Limit Switches
Most modern systems use Encoder-based limits rather than physical click-switches.
-
Calibration: Manually move the door to the "Full Open" and "Full Closed" positions and save these coordinates in the controller memory.
Step 4: Installing Heat Traces
In freezer applications, you must install a Heating Cable along the drive track and inside the motor housing. This prevents the condensation from turning into ice, which could jam the drive system.
V. Phase 4: Safety Integration (Non-Negotiable)
Automation introduces kinetic energy risks. Every conversion must include:
-
Wireless Safety Edge: A pressure-sensitive strip on the leading edge of the door. If it touches a person or object, the door reverses instantly.
-
Dual Photo-eyes: Mounted at 20cm and 60cm heights to detect pedestrians and forklift forks.
-
Emergency Manual Release: A clutch lever that allows the door to be disconnected from the motor in case of a power failure, ensuring staff are not trapped inside.
VI. Maintenance and Longevity
To ensure your newly electric door lasts 10+ years, follow this protocol:
-
Weekly: Visual check of the chain/belt tension.
-
Monthly: Test the safety reversal system. A door that doesn't reverse is a liability.
-
Quarterly: Lubricate the track (use food-grade, low-temp grease). Check the motor's cooling fan for ice buildup.
Conclusion: Stepping into the Future
Converting a manual cold storage door to electric is one of the most effective ways to modernize a facility. It bridges the gap between old-school durability and modern efficiency. While the technical requirements are precise, the result—a seamless, energy-efficient, and safe portal—is well worth the effort.
Post time:Sep-25-2020
